
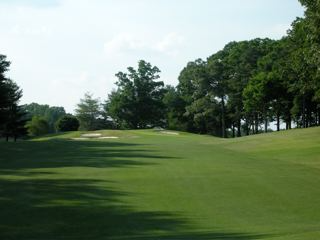
Hole #1 | Par 4 | 372 Yards
A tee shot that favors the right center of the hidden landing area is desirable on this opening par 4. A short second shot will play uphill to an elevated green. A great warm-up hole.
Hole #2 | Par 4 | 416 Yards
This dogleg left par 4 requires a tee shot to the left center of the fairway, which should release to a flat area for your second shot. There is a creek approximately 30 yards short of the front of the green. Your approach shot placement is critical on this very undulating green.

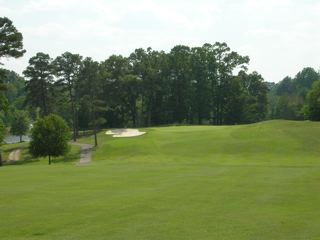
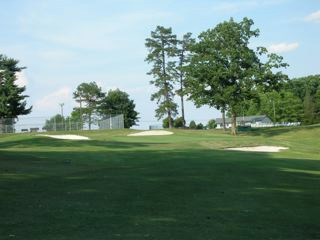
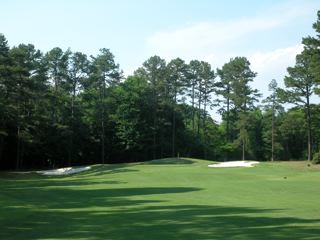
Hole #3 | Par 4 | 407 Yards
This straightforward par 4 requires a tee shot to the right center of this right to left sloping fairway. Your second shot should avoid the bunkers right and left front of the green.

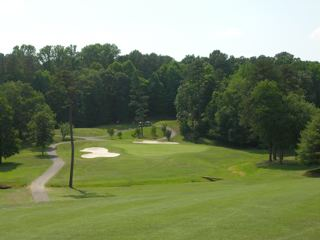
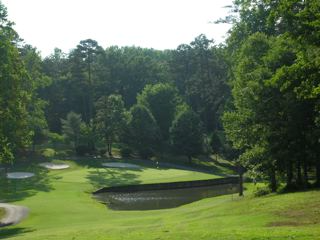
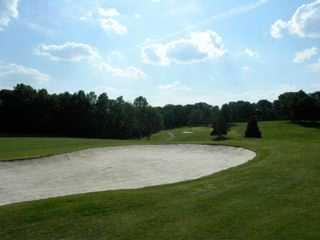
Hole #4 | Par 5 | 565 Yards
This par 5 requires a tee shot to the left center of the fairway as it slopes severely left to right. Your second shot should be placed in a flat area from 100 to 150 yards from the center of the green. Your approach shot will play over a 90-yard pond, so choose your club wisely.
Hole #5 | Par 4 | 378 Yards
A par 4 that will require an iron off the tee. Tee ball placement should be to the left center of the fairway. This green has an upper tier and lower tier with a severe slope from back to front. Approach shot placement is critical on this large green.
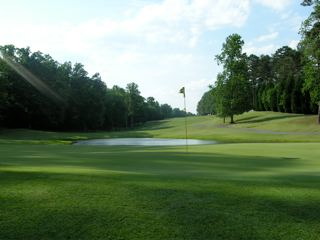
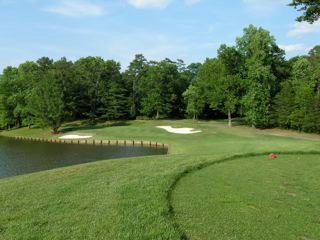
Hole #6 | Par 3 | 183 Yards
This downhill par 3, with water guarding the front, bunkers guarding the left and long, plays about one club short due to its elevated tee.
Hole #7 | Par 5 | 507 Yards
Tee shot should favor the left side of the fairway on this shorter par 5. Second shot will be played from an elevated area. This elevated green slopes from back to front and is guarded by bunkers left and right. There is an area to run the ball on the front right of the green.
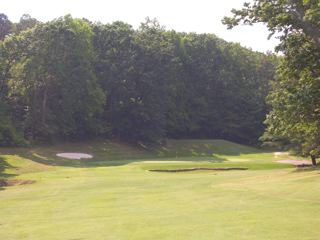
Hole #8 | Par 3 | 190 Yards
The signature hole at Cedarbrook. This downhill par 3 plays a club less than the yardage and shot placement is critical to this three-tiered green for making birdie.
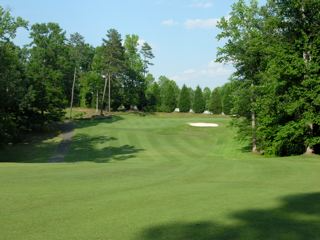
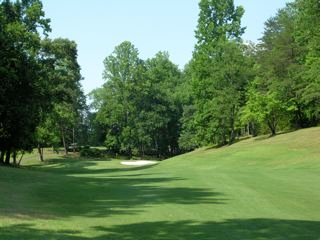
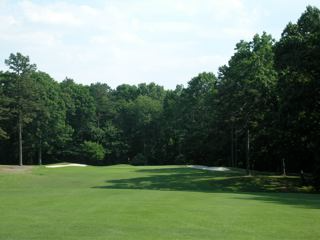
Hole #9 | Par 4 | 358 Yards
This shorter par 4 final of the outward nine does not require a driver, but does require a well-placed tee shot. Approach shot placement is crucial as this green has severe sloping and bunkers guarding short and left.
Hole #10 | Par 4 | 421 Yards
A challenging par 4 that requires a slight right to left tee shot. Approach shot could play from a downhill lie and this multi-tiered green requires precise iron play.
Hole #11 | Par 4 | 420 Yards
This dogleg right par 4 does reward a left to right accurate tee shot. The approach shot will play over a creek that guards the center to right center of a relatively flat putting surface.
Hole #12 | Par 5 | 491 Yards
This straight away par 5 will allow you to play your driver, with most tee shots funneling into the fairway from either side. This hole gives the better players a legitimate chance to reach the green in two. Bunkers on the right guard this slightly elevated green.
Hole #13 | Par 3 | 202 Yards
This slightly uphill par 3 plays as the easiest hole on the course. Bunkers on the left and right guard this green.
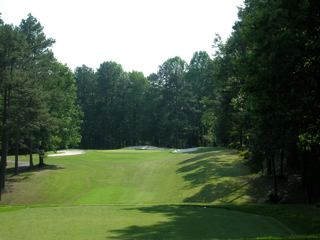
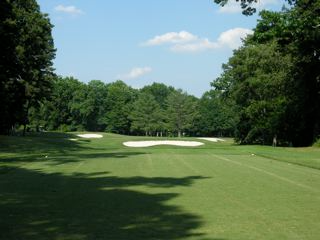
Hole #14 | Par 4 | 410 Yards
This straight away par 4 plays slightly uphill. Your approach shot will be to a slightly elevated green where you cannot see the putting surface. Bunkers left and right guard this green.

Hole #15 | Par 5 | 515 Yards
A slightly downhill par 5 with moderate length. Large white oaks and native pines line both sides of the fairway. Be careful because out of bounds sneaks up on the left side throughout the hole. If you choose to play it as a three shot hole, your lay up should be to the top of the hill, which will give you between 85 and 100 yards to the center. This triple-tiered green slopes from back to front.
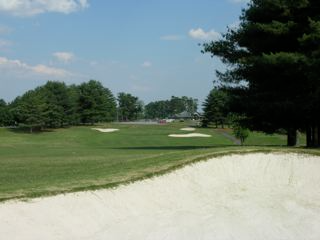
Hole #16 | Par 4 | 401 Yards
This dogleg left par 4 was designed for a right to left tee shot with a premium placed on hitting the fairway, rather than on distance. The best position for your approach shot is between 125 and 150 yards. If closer than 125, you will have a downhill lie to a slightly elevated, side-bunkered green that falls slightly from front to back.
Hole #17 | Par 3 | 186 Yards
This par 3 requires precise distance control as bunkers guard this green short, long, and right. A great par 3!
Hole #18 | Par 4 | 417 Yards
A generous fairway will accommodate a driver hit slightly off line. Avoid the fairway bunker to the left and you will have a downhill mid to short iron approach shot. The green, that is well-bunkered short right and long left, is generous with its width and depth.